I'm not much of a photographer so I struggle with product photography. I try to stick with very simple photos (hopefully letting the products speak for themselves), although I have been attempting to use more interesting camera angles in the past year or so. I take most of my pictures inside in a fairly small
homemade light box. The items that don't fit in the light box--like
ones taken on my mannequin, Helena--get photographed outside because I
don't have a good place to do it indoors. So for those, I try to wait
for an overcast day and hope it's not raining or snowing--obviously I
much prefer to take pictures inside.
My editing process is extremely simple. I use Photoshop Elements to
make the background white, crop and occasionally brighten or
darken or slightly adjust the hue, though that's not usually
needed. My main concern is getting the colors to look like they do in life--I never want someone to be disappointed when they receive their purchase.
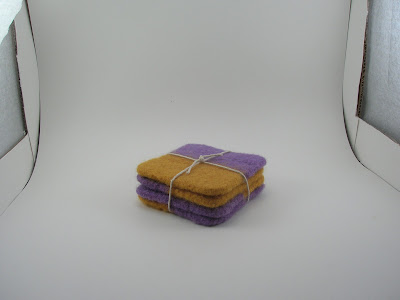 |
| Original photo |
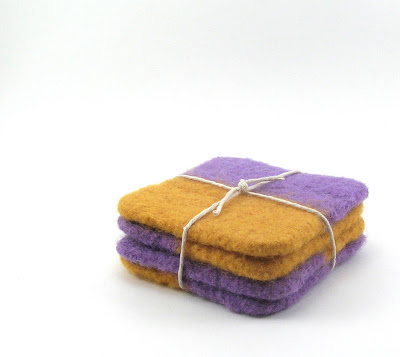 |
| Edited and cropped |
No matter how I try to streamline the process, I still end up taking lots of pictures to get ones I'm satisfied with. I took 434
pictures yesterday and I should have 21 Etsy listings when I'm
done editing them. I never realized how much time I would have to spend on photography when I started my business--I feel like I'm never caught up. I hope to continue to improve so I can spend a little less time taking pictures and more time making the things I need to take pictures of.


No comments:
Post a Comment